This project origin
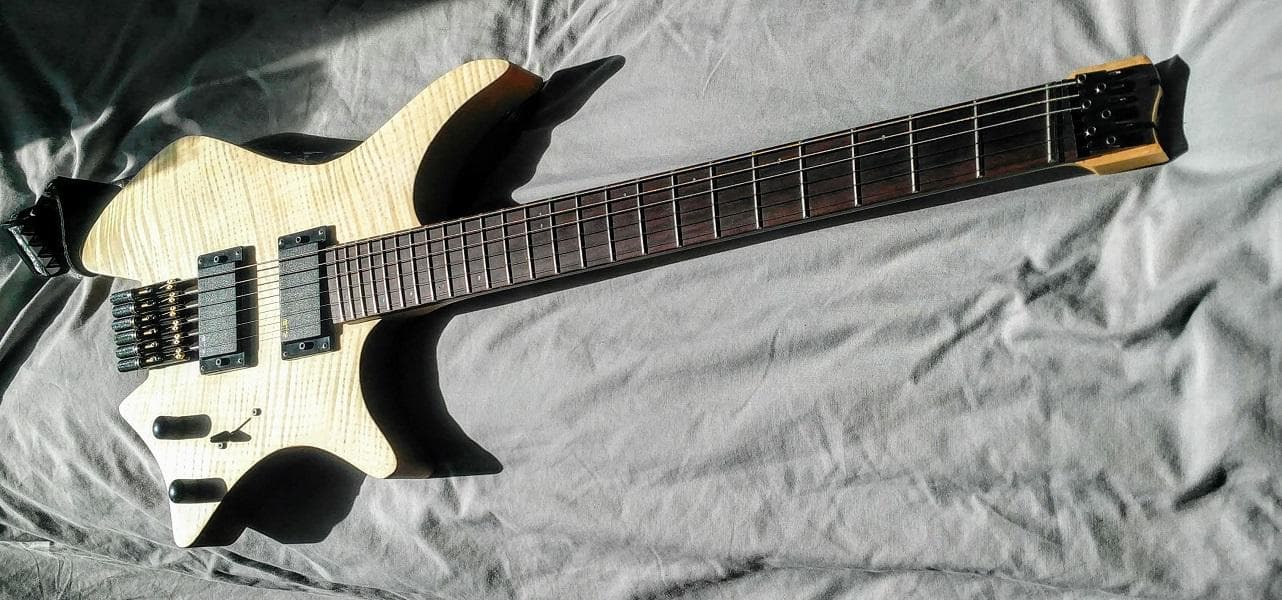
It all started when I saw Plini live; he had a nice .strandberg* guitar and it thought it look amazing. This Boden 6 looks quite good.
The problem is, at 2195 USD, it's getting expensive based on my guitar skills. Also, it's a very innovative guitar, I wouldn't spend that much and risk not liking it, maybe it would feel different.
At this point, I started working on a 3D printed guitar. The body printed fine, but the neck was a big struggle. This is subject for another blog. For now, let's consider I set this project aside for a while. I told myself that I should start by assembling and fixing a guitar from scratch, before getting to make one.
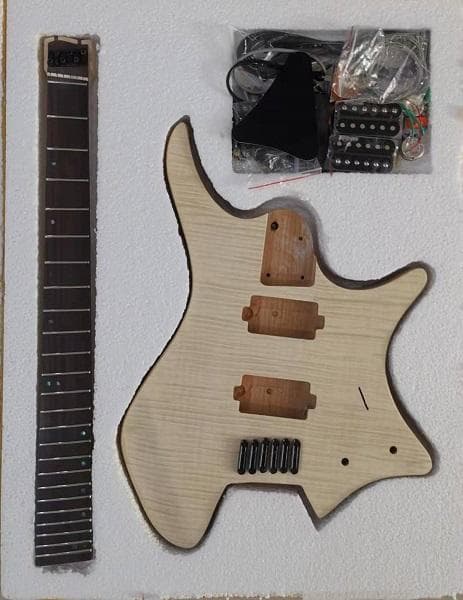
I stumbled across this guitar on AliExpress, a semi-finished, fanned frets, strandberg style guitar, at 225 USD, shipping included. I couldn't believe my eyes!
Special order!
The guitar looked perfect, I bought it right away, and took the chance to ask for something special. As I am a big fan of metal, I wanted to have active pickups. Surprisingly, they gladly accepted and sent the correct pickups, including the required hole in the guitar body for the battery.
4 months later...
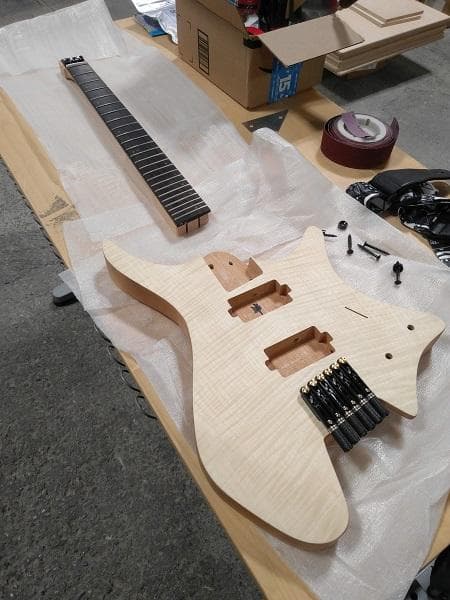
Yes, 4 months! It took a while, but I think it worth it. I was surprised to see how there is "technically" little to be done, regarding this guitar assembly. To my surprise, the body was already finished and lacquered.
- The bridge tuners were already mounted
- Most holes were already drilled
- The string lock were also already mounted
Here are all that needed to be done:
- Mount the neck on the body
- Drill holes for pickups and pickup switch
- Adjust neck tension
- Adjust the string actions
If you are patient, you can do it by yourself. Otherwise, a luthier can do it.
The problems encountered
Don't be surprised, at this low price, and with customization, there had to be some problems. I'll do my best to give you details below. Luckily, anything can be solved, and in future posts, we'll see how they can be solved.
Pickup mounting screws
No big deal, they forgot to cut the screw clearance for the pickups. One could use a wood drill and carefully drill a few mm deep.
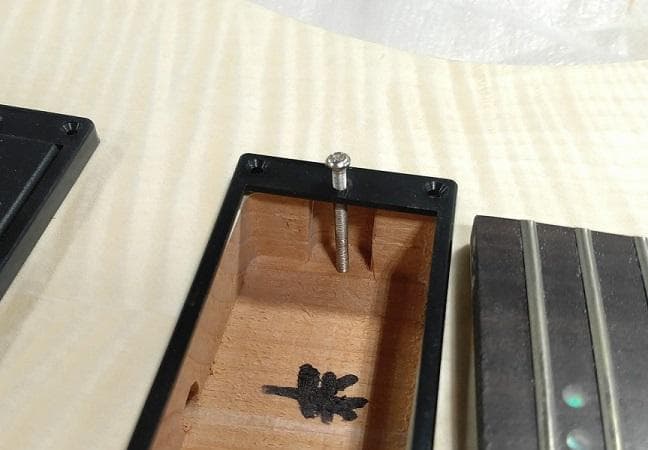
I preferred using shorter M3 screws. Also, I personally hate Phillips heads, and the screw I have are Socket Head Cap Screws, much better.

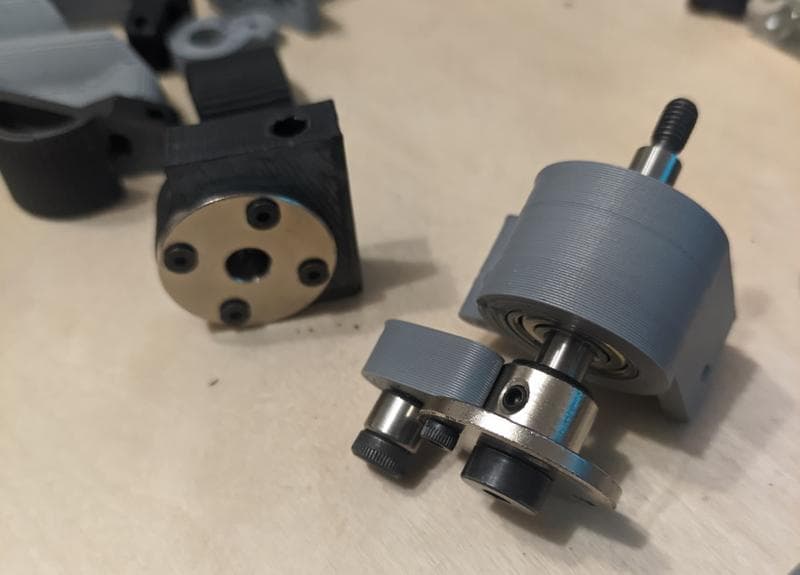
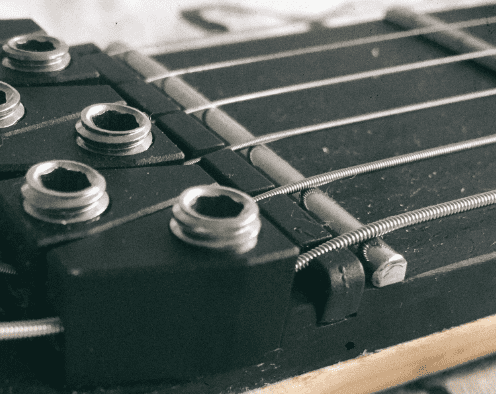
The string locks
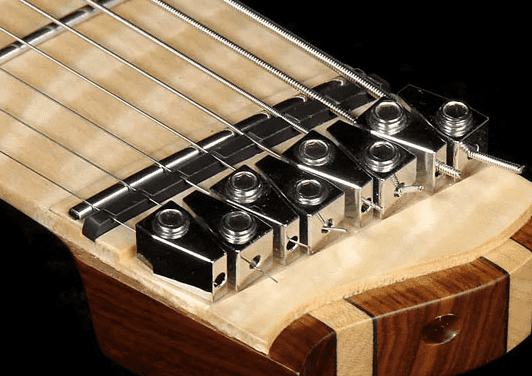
Sometimes, I'm impressed by Chinese copies. The original design from Strandberg is machined, has a nice light sandblast finish, and has the proper hardware to prevent string damage.
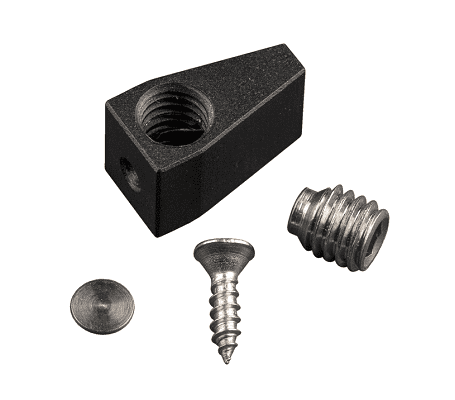
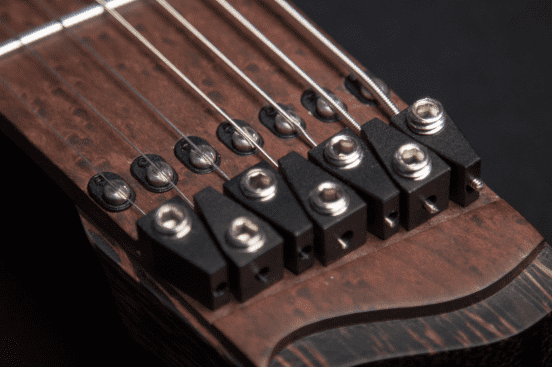
The Chinese version is very similar, but it has some major flaws.
Here are the differences:
- Die-cast design: it's not technically bad, especially of you consider optimizing for manufacturing cost. In my humble opinion, it tends to have less aesthetics charms: round corners, scratches from the process, etc. It probably cost 10 to 20 times less, ignoring the mold cost.
- Simplified design: No chamfers, triangle design (the original design has two flats across the locking screw which makes it look nice), round corners
- No disk: This is a major problem. They didn't include the little disk that prevent the string from being squeezed against the Phillips head (Did I mention I hate these heads?!). If you tighten your string, you'll be shearing it with the head and risk damaging the string. But there is something even worse...
- CUP POINT SET SCREW: That is the most common type for this headless screw. A cup point is designed to maximize the mating part indentation (deformation) to get a strong grip. In our case, you'll be cutting strings like crazy, and I mean it.
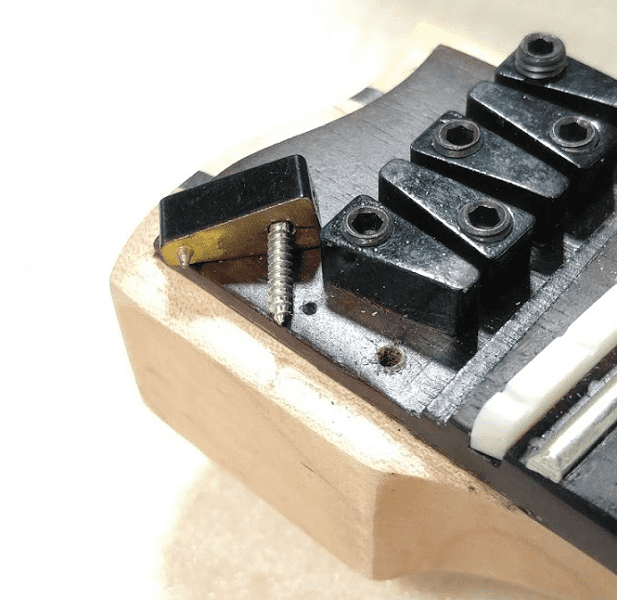
The fret zero and nut
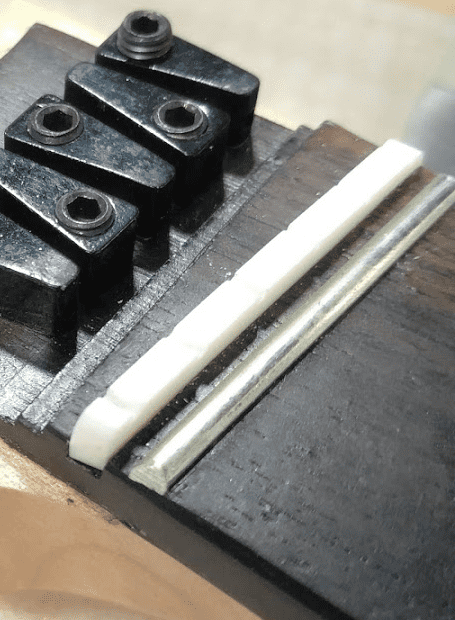
This is the biggest problem, one that requires more work and tools to solve. The fret zero has the same height as the other frets...
What does it mean? Simple, if you want to keep it like this, you have two options: 1. Use the nut, which is offset from the fret position, and have every single notes out of tune. 2. Not use the nut, and have fret buzzing and poor sustain.
If you look carefully at the original Strandberg design, they have 3 variations:
- Using a thicker fret, designed for being the fret zero.
- Using a standard fret, with a shim (spacer) beneath it.
- Using an adjustable action mechanism.
Zero instruction
No wiring instruction, no assembly order, no screws details, nothing. Yes, most of it is pretty obvious, but a simple exploded view could have been appreciated.
The good sides
Amazing introduction to guitar building and troubleshooting
For that price, it's hard to beat. The amount of experience and knowledge simply worth it. You won't be scared to break something of high value, and you can only make it better.
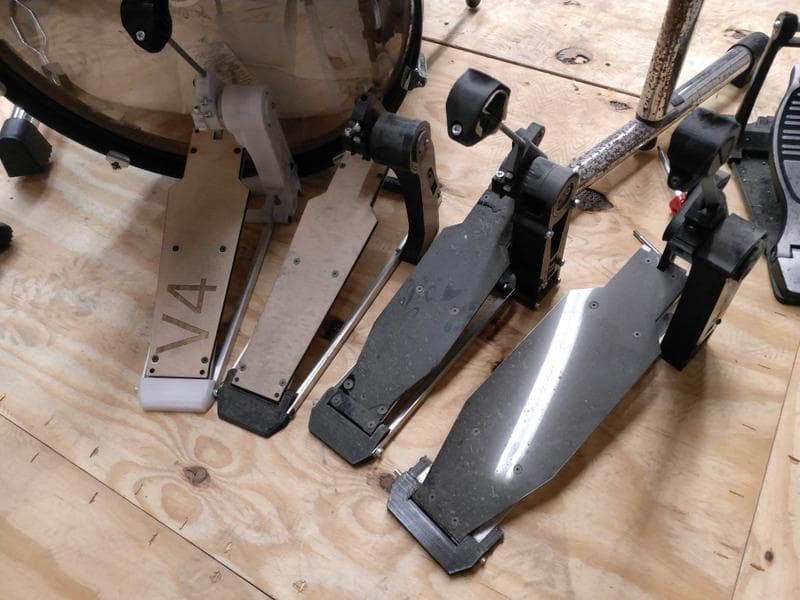
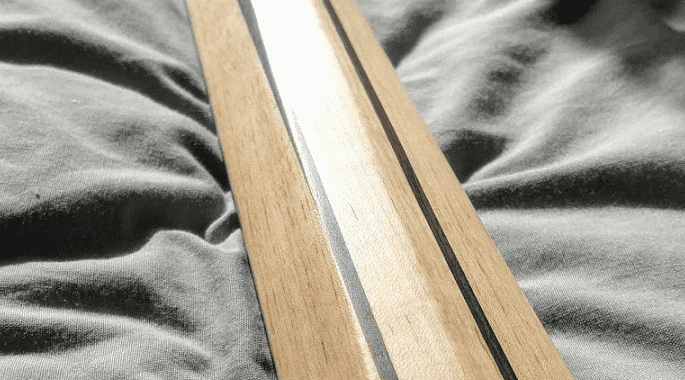
The neck
It's actually impressive. Frets were all perfectly levelled, and the back shape and finish feel great. You can see the variable bevel position from the picture below, I really love it.
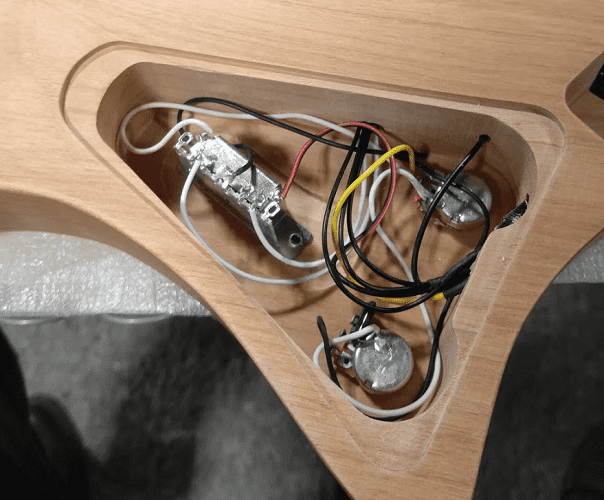
Pre-soldered electronics
Most of the components arrived pre-soldered, which is quite nice. Most connections are very easy to do, but soldering on the pot frame can sometimes be tricky if you lack of proper (thick) soldering tip.
Bottom line
I'm really glad I bought this guitar. I consider it non-playable from what it is originally, especially because of the fret zero problem, but I'm still very happy I got it.
I already ordered everything I needed to solve most problems, and I'll post updates once progress is made.